Sunday, September 22, 2019

Supporting your miniatures.. Literally!

Since getting the printer, I've been spending time honing in some settings as well as getting the hang of properly supporting home printed 3d models.  My initial foray(s) were mainly using auto generated supports with a few extra that I added for spots that I thought needed them.  Unfortunately, the results didn't turn out so well as shown in the previous post.  I've been learning more about where and when to place custom supports and they've improved the final appearance of the model with each iteration (newest print on the left, oldest on the right).


It's not perfect by any means as, despite my added supports, the gunclub (a combo of the two weapons for the RPG character) remains a bit bowed where it meets the hand but at least the globs of fused support and model are gone.  I didn't notice any areas of failure to print so I'm probably (other than the before mentioned gunclub) adequately to overly supporting the model.  As long as the cleanup is manageable and mostly invisible, I'm ok with the latter!

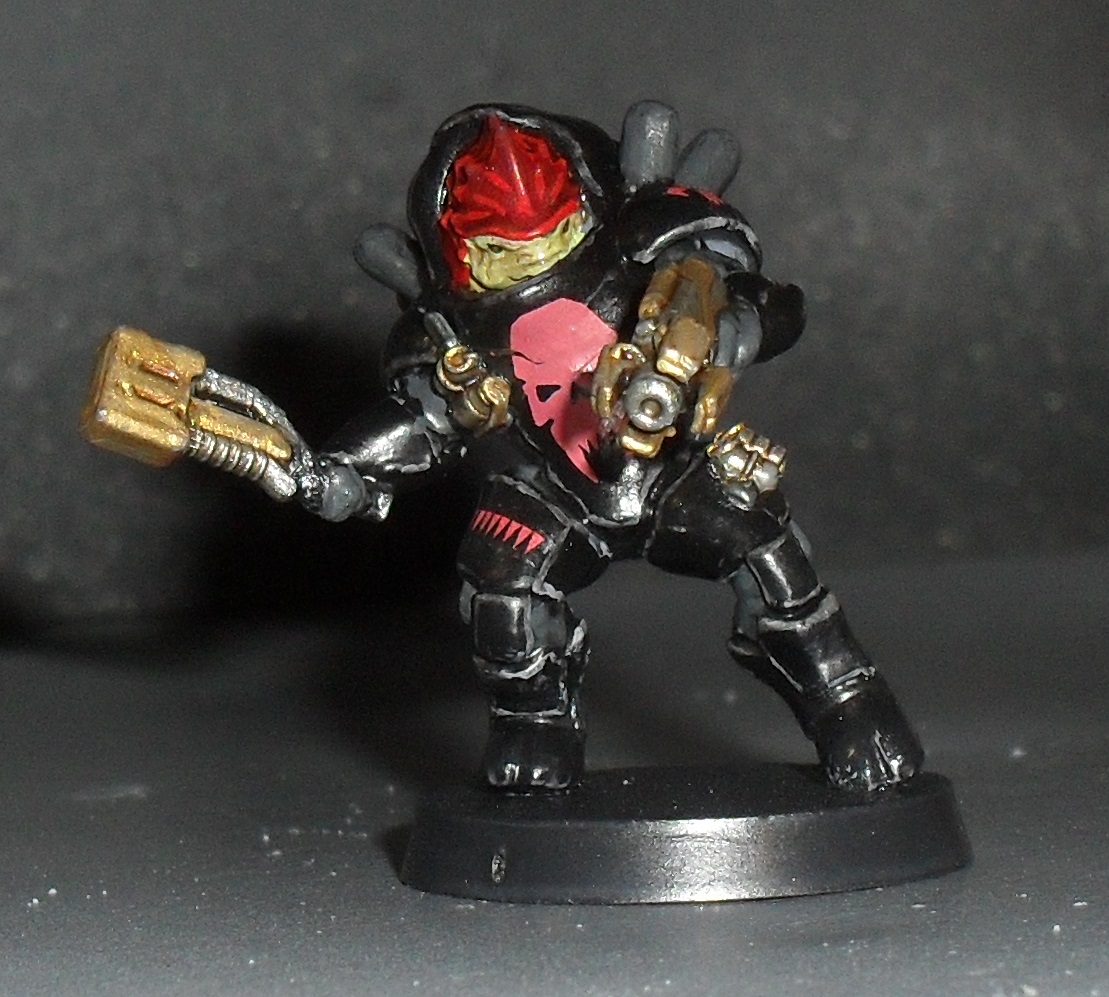
Here is the final result painted.  From L to R, we have a GW Primaris marine, my earlier Shapeways printed Krogan, my recent home printed Krogan, and a prepainted Star Wars miniature circa 2008.


Overall, I'd put the crispness of the detail somewhere between my (admittedly dated) prepainted PVC miniature and modern GW plastics at the above printed layer height of 50 microns (with a 47 micron accuracy on the XY plane due to the 1440p/"2k" LCD screen).  For something printed at home in a few hours, I'd call that a resounding success considering it took me over a month to get the Shapeways krogan after payment!   It's unfortunately not an exact like for like comparison though as my 3d modelling (or more accurately tweaking) skills have improved somewhat and I did learn how to smooth out the obvious polygon facets visible on the krogan as well as his layer height being set to approximately 1/3 (16 microns) that of the home print.  At least for my thoroughly mediocre painting abilities, I don't think the added difference shows in the final product.

Along with the krogan, I decided to reprint NXR Star Trek ship as well since I had plenty of room on the build plate and wanted to test out both the custom supports as well as a true vertical orientation on the model at 50 microns instead of the previous 45 degree angle/20 micron/auto support print shown on the left.


There is some difference in this model in terms of fine detail but I can't say whether the orientation or the layer height had more to do with it.  It's evident in the overall softness and the shallowness of the depth of the saucer elements like the cover over the front saucer tip where the original NX deflector was.  Like the krogan, this model wasn't specifically made for 3d printing so shallowness of details is to be expected somewhat but it's a bit more muted than I expected.  I haven't painted this model (obviously ) and I am curious how much of it will show through after a layer of primer, paint, and wash are applied.  Regardless, I'd have to test out a fully vertical 20 micron print to see how much of that loss is due to each factor.  Due to the length of time that would take, I'd probably wait to do that for when I'm ready to print out a full build plate of Trek ships so as to maximize the results for the longer print as a vertical starship is significantly taller than my other mainly wargaming character prints.

Well, those are my 3d printing results for this past week.  As always, feel free to comment below and thanks for reading.  More to come in about a week!

Friday, September 13, 2019

Adventures in Cloning Krogans

After getting my first 3d printer last week and doing an initial pair of test prints last weekend, I've been trying to test out some additional models at a higher level of detail (20 micron layer height instead of 50) in the days since.  I decided to go with three models that I tweaked myself from existing models for my first build plate.  Included was the Star Trek NX refit that I previewed a few weeks earlier, a purpose built for 3d printing 40k model of a Sister of Battle that I converted a chainsword onto, and another custom posed Krogan that I built as a possible RPG character model for a Starfinder campaign I just joined.  I used the automated standard supports to build a scaffolding around the models and added some manual supports for small islands that were missed.  I did a fairly thorough job since I've been watching youtube channels for months detailing failed models and they did indeed print entirely and were well bonded to the build plate.  Mission accomplished!... or so I thought.


The front/top of each model was quite nice and I was incredibly impressed with the level of detail.  Individual teeth on the chainsword printed perfectly and even portholes on the starship are visible.  The only misprint I found was the sagging barrel on the Krogan's gatling laser club and the deflector on the NXR bonded with the secondary hull. Unfortunately, the undersides of the models were much worse as I saw when I removed the supports.


Each model is a example of a different kind of error with supports.  The supports on the back of the Sister of Battle were on occasion too close to her and tiny bits of resin trapped between them bonded the two together leaving large, ugly messes resembling superglue blobs.  The amount of surface area needed to print the starship at a 45 degree angle (so as not to be taller than the other models and increase the 7 1/2 hour build time by another hour or two) meant a large amount of supports and the standard auto setting left many pips that have to be individually removed after the support itself is clipped.  The krogan was lacking any supports on the top of the gun barrel as it was printing vertically on the build plate and supposedly didn't need any but sagged for some reason around the hand.

Obviously it was time to go back to basics and rewatch any videos dealing with placement of supports.  In the next post, I'll detail what I learned, what I changed, and show some of the results.


Wednesday, September 11, 2019

Lazy Summer Days... or are they?

I haven't been too active on the blog but that (much to my own surprise!) hasn't been the case in real life with regards to my hobby efforts.  After my last post, I decided to try another Primaris Space Marine that specifically wasn't from my Winged Hussar chapter.  Instead, I decided to make a model for the successor chapter of Space Wolves based on the Dusk Howler paint scheme linked below.


After a few false starts including one complete paint strip and a change from a naked head to a helmeted one, I ended up with the following final figure.  In retrospect, I'd have preferred the bare head and the real chain loin cloth was definitely not worth the hassle compared with just using a plastic bit.


 Afterwards, I returned to remixing (basically digital converting of 3d models) designs for a while until I saw that 3d printers had finally dropped below my personal long stated cost threshold.  I hesitated for over a month during which the sale model constantly went in and out of stock before finally committing to buying it during the last days of the sale.  As a proud new owner of an Elegoo Mars, I then proceeded to try out my first test print that didn't exactly go so well.  Luckily, I noticed that I hadn't tightened up the build plate less than a third of the way through and repeated the print with the results below.  Apologies for the crappy paint job but it was literally speed painted in a single evening before my first tabletop game of 2019 (where it was my RPG character model) but I posted the pic because it shows the level of detail a bit more than the bare resin.


 I have to say that I'm very impressed with what you can do with an affordable home printer in 2019.  The print was done at 50 microns for testing purposes but the printer is capable of layer heights less than half that!  I just didn't max out the settings as even that single figure would have taken over 7 hours based on height.  I hope to have an update later this week with my first relatively full test bed of models at the highest detail level for a better comparison.  I just hope that I don't end up printing more than my painting habits allow for!  :)