Unfortunately, I had to take an unexpected break from my Tau project due to delays in getting my broadside but finally got it a few weeks ago and worked on it this weekend after recently finishing two HALO Fleet Battles fleets. I roughly followed my idea above with some tweaks of my own to customize it. Sorry about the pics below as I was taking them while working, snapping pics as I worked on the next step (as evidenced by the instructions and still wet glue!). While I did plan out and virtually measure twice, I had to improvise a bunch of changes on the fly.
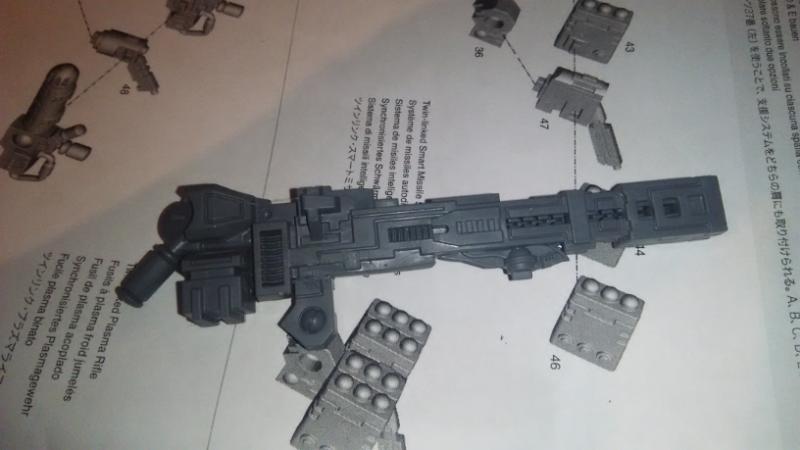
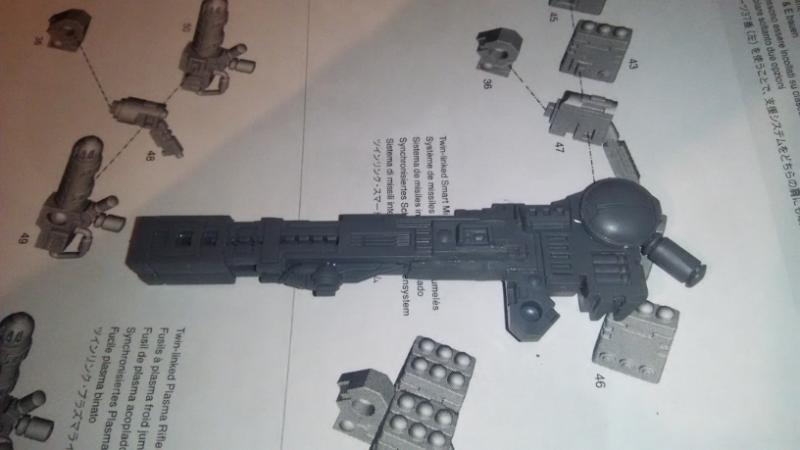
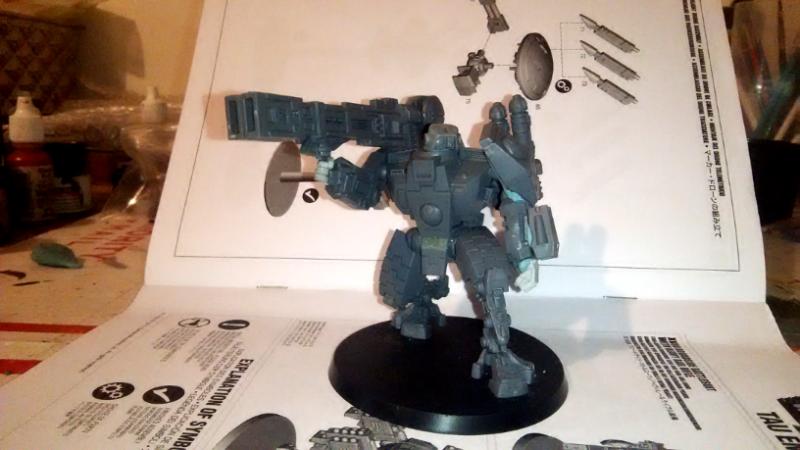
Starting with the railgun, I test fitted it on the other shoulder but decided to keep it on the same side. It just looked better and was more reminiscent of an old RPG fav, the Rifts Glitterboy. I decided to keep its original orientation instead of flipping it like my inspiration above. I cut away the same large piece above (click his link to see his step by step photo) but decided not to use it as a grip. It would be too bulky since I planned on using spare leftover Enforcer hands on the model. I put on all but one of the original railgun bits (the sensor head scope) and filled in the remaining gaps on the other side where the other hand/arm would go with a spare Broadside "face" bit for the head (you get 5 or 6 with the kit). I'll probably put a small antenna on the back disc area on the outside face of the gun. I mounted the back of the railgun on the peg that attaches to the powerplant as well. Finally, for the grip, I decided o use the mounting rail for the seeker missile I wouldn't be using.
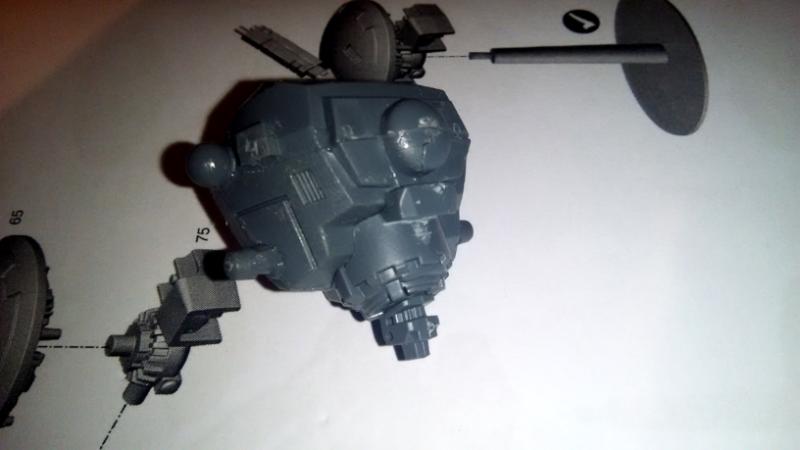
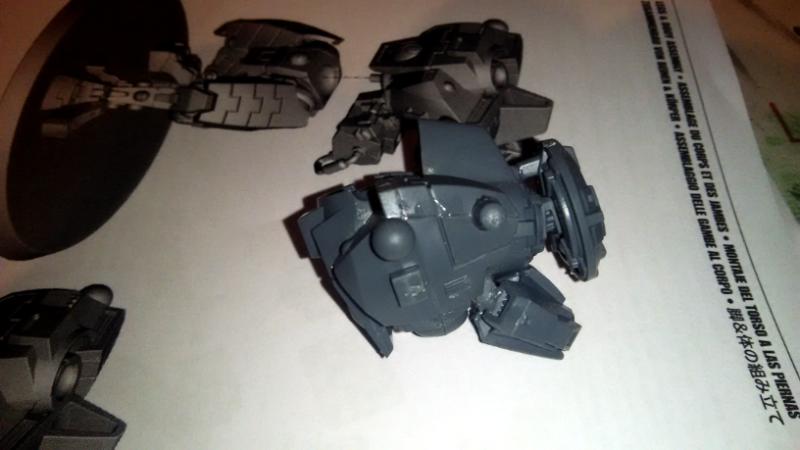
I knew I wasn't going to use the missile because I planned to use the bits for a conversion. I'm building a retaliation cadre in which the broadsides are both relentless and can deep strike, neither of which they normally do. So I made up some fluff that I'll post later about a new Broadside variant that trades sustained fire capability for additional maneuverability. To show this on the model, I decided to skip the cooling fan under the powerplant and mount the seeker missile bit there instead. You need to remove the tab above the back waist on the broadside and slightly trim the intake side of the missile booster engine but it fits as shown below fairly well with minimal fuss with the edge with the longer railing on the bottom.
This conversion pushes the torso a tiny but forward and I had to trim off and gap fill the raised bump on the broadside groin guard as well as it bumped against the center bottom chest armor when dry fitting.
Since I'm going with an anti-heavy infantry theme for this cadre, I chose the plasma guns as my secondary weapon option. I tried mounting it different ways on the arm but thought they all looked too busy. Instead, I decided to also mount it on the back. When I used the normal spacer piece the instructions said, the barrels looked too separated for my tastes and jutted out too far when in the "launch" vertical position I planned on using. I just trimmed them a bit on the inside face and mounted them directly onto the peg. It's style over function though as if they were to rotate forward to fire then they'd be blocked bybtge shoulder pad without the spacer piece. I suspect in fluff the earth caste has miniaturized an extension within the mounting to counteract this. :) Here is my initial blu tac mockup with most of the pieces.
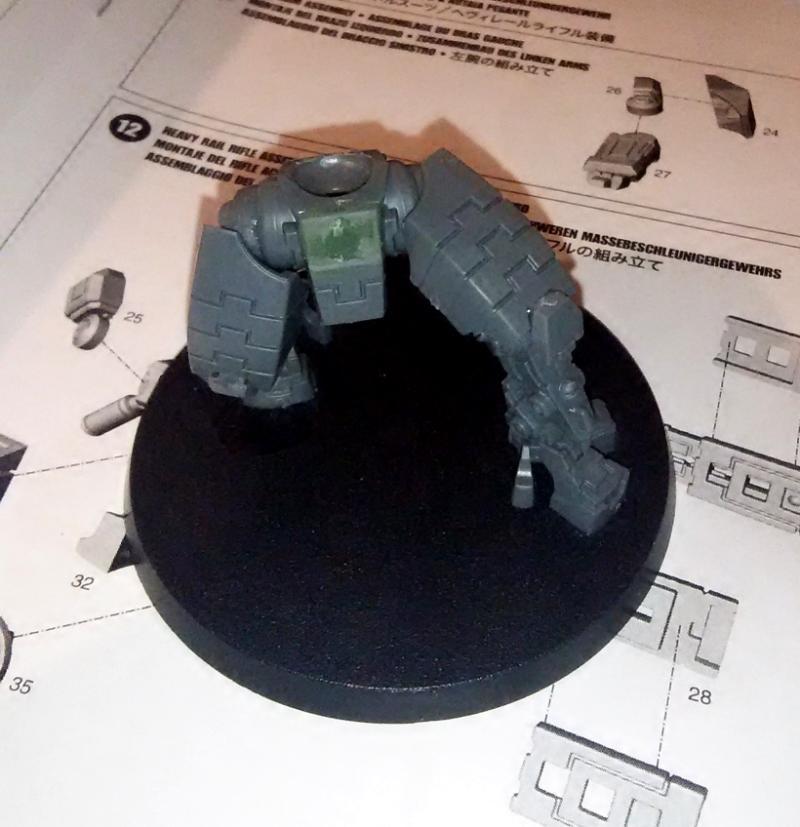
I still wanted to show a support system on the model but I didn't like any of the existing ones on the left arm mounting so I tried tried using the remaining scope bit from the railgun. I decided that too was too bulky and latter kitbashed a custom piece. I used my leftover Yvahra Riptide head as it was squat and bulky enough that I thought it worked well with the broadside aesthetics. For the arms, I used two sets of left forearms and right shoulders to lengthen the limbs. The right railgun arm of the broadside was just too short and asymmetrical for my tastes and I had an extra from months ago when I ordered bits in my unsuccessful quest for alternate Riptide shoulder pads (detailed above). It was a win-win situation!
I'll be working on gluing this together later tonight and I've already got a few tweaks in mind as well.

No comments:
Post a Comment